Pages

Thursday, September 8, 2011

assignment 3- Marine park Fee


Step 1

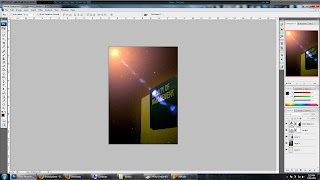
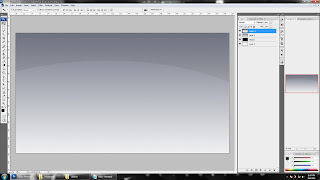
1) Firstly, I created new layer which is 26x15 inches in size
2) Used Gradient Layer to create the background color
3) And I used Eliptical Marquee Tool to create shape and filled with darker color n place on the layer to get a good depth of color


Step 2

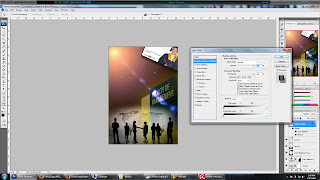
1) Inserted 1st image onto the layer that created
2) Then, I give the shadow effect to the image where can find it at fx at the layers box
3) Another 2 images inserted on the layer and did the same step as step no.2


Step 3

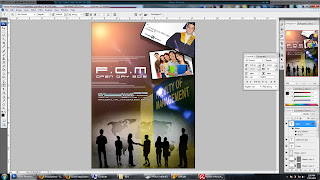
1) For the title, I used Horizontal Type Tool to key in words
2) Rectangular Marquee Tool created and filled with color to placed at both side of the title


Step 4

1) For create a box to insert the word i used Rectangular Marquee Tool
2) Step 1 is repeated to create different sizes and colors of boxes


Step 5

1) Finally, Horizontal Type Tool is used once again to insert the words in the boxes


assignment 3- Perhentian Map

1. This is main layer, where named as “Layer 1”.Import perhentian map from google site and also create

Four boxes which fill with different colour.The boxes label with several resort name.


2. First boxes,fill with Turquoise color.Once click the D”Lagoon it straight will link to Scene 1, which is appear resort details.

on (release) {

gotoAndStop("Scene 1", "D'Lagoon");

}

This is action script.
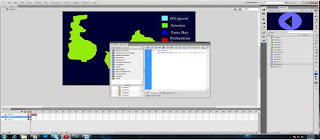


3. Page “Scene 1”.The Details been created with using adobe Photoshop and it convert to JPG file format.

Once Import and add the image of “D”Lagoon” to this page ,and create button with back arrow icon.

on (release) {

gotoAndStop(1);

}

This is action script.


4. Page “Arwana”.The Details been created with using adobe Photoshop and it convert to JPG file format.
Once Import and add the image of ” Arwana” to this page ,and create button with back arrow icon.


5. Page “Tuna Bay”.The Details been created with using adobe Photoshop and it convert to JPG file format.

Once Import and add the image of ” Tuna Bay” to this page ,and create button with back arrow icon.


6. Page “Perhentian Resort”.The Details been created with using adobe Photoshop and it convert to JPG file format.

Once Import and add the image of ” Perhentian Resort” to this page ,and create button with back arrow icon.


7. Button 1 added in every single layer .Once press this button will go to previous page.

This button created with two layers, which layer 1 for “Back Arrow” icon and the layer 2 for circle shape.


8. Done

Wednesday, July 20, 2011

E-wallpaper Assignment 1

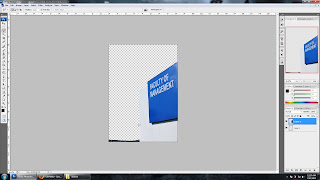
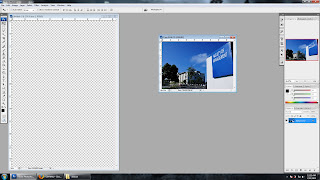
1. Insert the picture into canvas.


2. Scale according to the size.


3. Select the polygonal lasso tool and crop the background of the ima
ge.


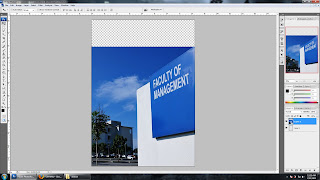
4. Insert the second picture below the earlier image and make the first image layer into soft light.


5. Insert the level adjustment layer.


6. Insert the colour balance layer.


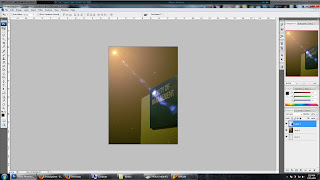
7. Insert a new image and right click on the layer. Go to blending option default and select the stroke and drop shadow.


8. Click on the text tool and type the detail.


9. Final image :-)


Sunday, June 26, 2011

tutorial 1 selection tool